How to Clean Kitchen Appliances in 7 Easy Steps
Cleaning kitchen appliances can feel like a never-ending chore, especially when grease, stains, and lingering odors keep coming back. You’re not alone—many people struggle to keep every appliance fresh and hygienic.
This guide to how to clean kitchen appliances in 7 easy steps makes the process simpler. Follow these practical tips to clean coffee makers, microwaves, refrigerators, ovens, stovetops, and more.
Unplug and cool appliances, then clear nearby items and check care instructions. Wash removable coffee maker, toaster, and blender parts with warm, soapy water, and descale coffee makers.
Steam the microwave with water and vinegar, then wipe it clean. Empty, wash, dry, and organize the refrigerator.
Scrub the oven and stovetop safely, then degrease range-hood filters. Dry everything completely, deodorize with baking soda, and maintain regularly.
Follow these steps for cleaner, fresher appliances and uncover helpful details below.
Key Takeaways
- Unplug appliances, let them cool, remove nearby items, and inspect for damage before cleaning.
- Wash removable parts with warm, soapy water and wipe exteriors using a damp microfiber cloth.
- Descale coffee makers with vinegar solution, clean toaster crumbs, and wash blender components carefully.
- Steam the microwave with water and vinegar or lemon, then wipe its interior, door, and turntable.
- Empty and clean the refrigerator, oven, stovetop, and hood; dry everything thoroughly before reassembly.
Prepare to Clean Your Kitchen Appliances
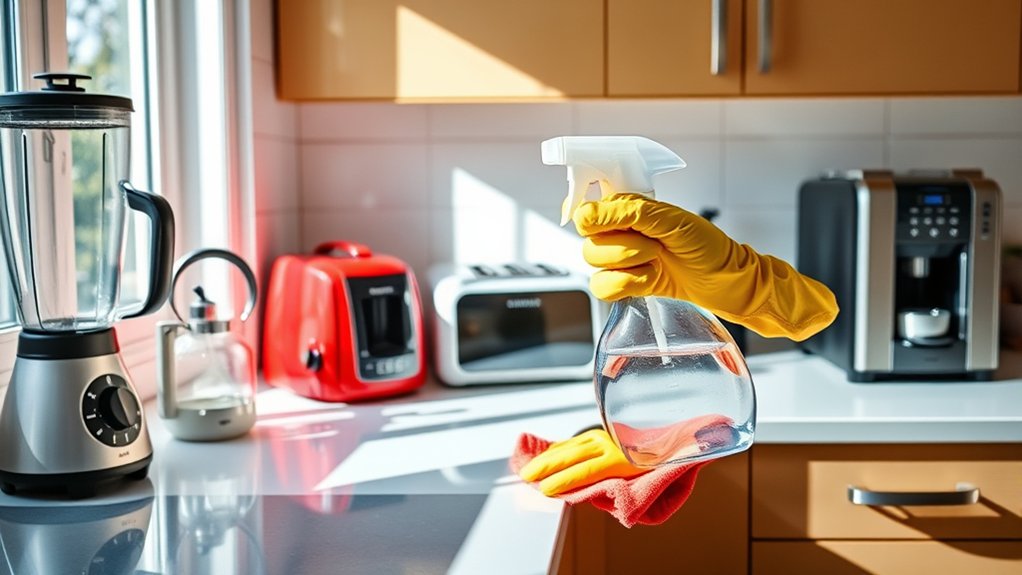
Before you begin, unplug each appliance and clear the surrounding counters. This simple step supports Kitchen safety and gives you room to work without knocking items onto the floor.
Let recently used appliances cool completely before you handle them, and keep cords away from water, cleaners, and damp cloths.
Read each manufacturer’s care instructions, especially if an appliance has removable parts, special finishes, or electronic controls.
Gather mild dish soap, microfiber cloths, a soft brush, warm water, and clean towels. Don’t use abrasive pads, harsh chemicals, or excess water unless the instructions allow them.
Inspect appliances for cracks, loose plugs, frayed cords, or unusual damage. Don’t clean damaged equipment; arrange professional repair or replacement instead.
Remove nearby food, containers, and decorative items so you can reach every accessible surface.
As part of regular appliance maintenance, plan a cleaning schedule based on how often you use each appliance. Label parts you remove to make reassembly easier.
Keep children and pets away while you work.
Wash Coffee Makers, Toasters, and Blenders
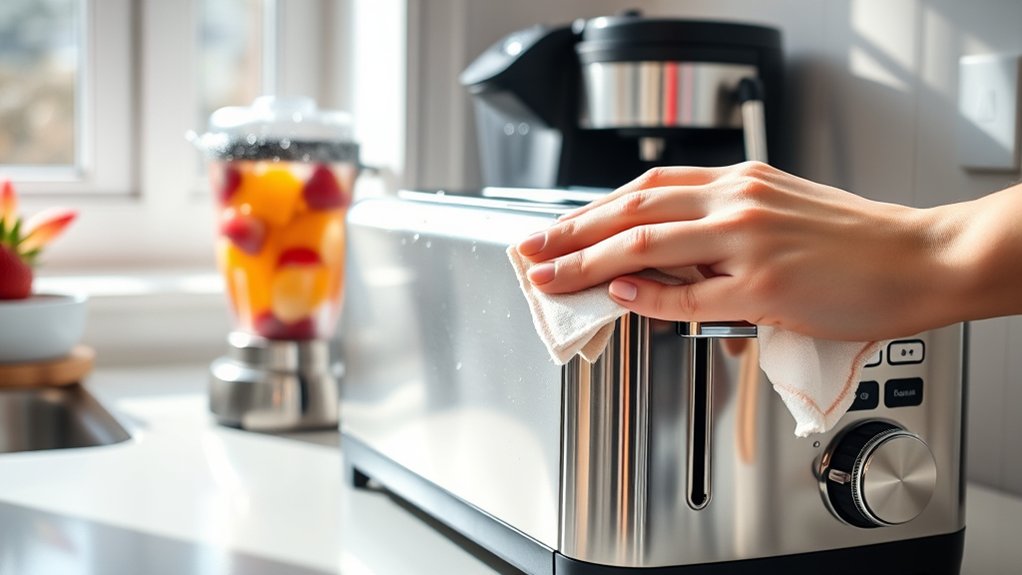
Keep your coffee maker fresh by washing the removable parts and running a descaling cycle regularly. For your toaster, unplug it first, shake out the crumbs, and wipe the outside—just don’t put water inside. Wash the blender jar and blades carefully, then dry everything completely before putting it back together.
Clean Coffee Makers
Cleaning small kitchen appliances regularly keeps them working well and prevents stale odors. For safe coffee brewing, unplug your coffee maker and let it cool before cleaning. Remove the carafe, filter basket, and reusable filter, then wash each piece with warm, soapy water. Wipe the warming plate and exterior with a damp cloth, keeping moisture away from electrical openings.
For thorough filter maintenance, rinse the filter basket after every use and replace disposable filters promptly. Mineral buildup can affect flavor and performance, so fill the reservoir with equal parts white vinegar and water. Run half a brewing cycle, pause for 30 minutes, then finish the cycle.
Empty the solution, run two cycles of clean water, and wash the carafe again. Check your manufacturer’s instructions first, especially if your machine has special cleaning requirements or removable parts.
Wash Toasters and Blenders
Toasters and blenders need different cleaning methods because they combine electrical parts with removable components. Before cleaning either appliance, unplug it and let it cool.
For toaster care, shake crumbs into a bin, then use a soft brush to loosen debris from the slots. Never immerse the toaster or insert metal utensils.
Wipe its exterior with a slightly damp cloth, and dry it completely.
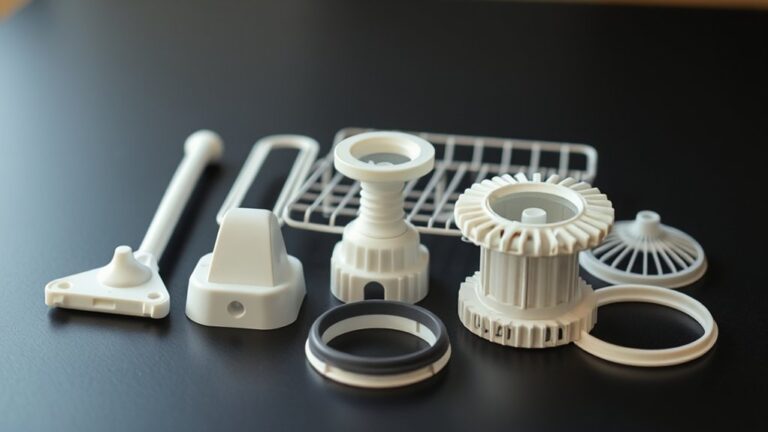
For blender care, remove the jar, blade assembly, lid, and gasket if possible. Wash these parts with warm, soapy water, or place dishwasher-safe pieces on the top rack.
Use a small brush around the blades, and handle them carefully. Wipe the motor base without letting water enter vents.
Dry every part before reassembling. These habits support safe Appliance maintenance and keep your Kitchen gadgets fresh, functional, and ready for use.
Steam-Clean the Microwave
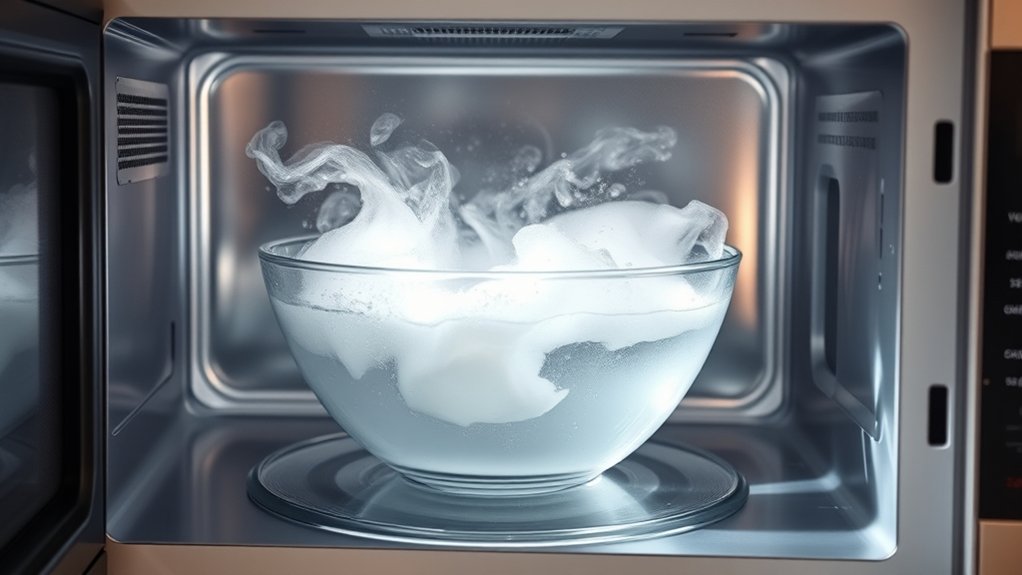
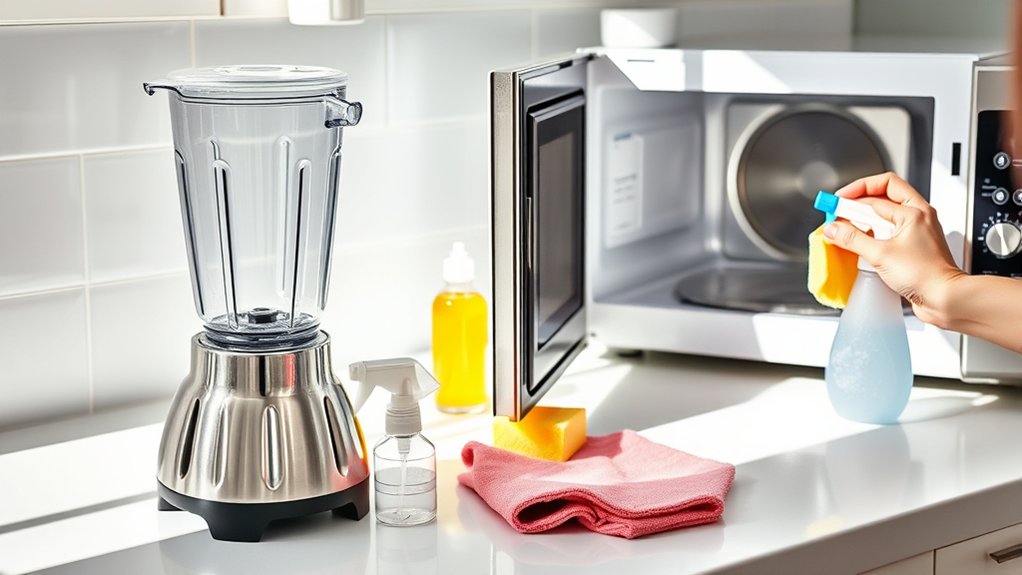
Gather a microwave-safe bowl, water, vinegar, and a clean cloth. Add the water and vinegar to the bowl, then heat the mixture until it begins to steam. The steam will loosen stuck-on food, making it easier to wipe the interior surfaces clean with the cloth.
Gather Cleaning Supplies
Before you begin, gather a microwave-safe bowl, water, white vinegar or lemon juice, a clean cloth, and a sponge. Choose a bowl large enough to hold liquid without overflowing during heating.
Keep measuring spoons nearby so you can portion ingredients accurately when you’re ready to steam-clean. Select a soft, nonabrasive sponge and a lint-free cloth to protect the microwave’s interior and exterior surfaces.
Your cleaning tools should be clean, dry, and within reach, reducing interruptions while you work. Place everything on a stable counter away from the microwave’s controls.
You’ll also need a heat-resistant mitt or potholder for handling the hot bowl afterward. Finally, plan your disposal methods: identify where you’ll pour cooled liquid and discard any dirty paper towels or disposable materials safely.
Steam With Vinegar
Pour 1 cup of water and 1 tablespoon of white vinegar into a microwave-safe bowl, then heat it on high for five minutes. Keep the door closed for another five minutes so the steam loosens dried food and softens stubborn odors.
Don’t open the microwave immediately; hot vapor can burn your face or hands. Use a microwave-safe bowl, and never heat vinegar alone or cover the container tightly.
- Choose a bowl with plenty of room to prevent boiling over.
- Position the bowl in the center of the turntable.
- Ventilate the room if vinegar’s sharp smell bothers you.
This simple method uses vinegar sanitization to reduce germs and steam sterilization to expose the cavity to hot, moist air.
After the waiting period, carefully remove the bowl with oven mitts. Let the microwave cool before continuing with the next cleaning step.
Wipe Interior Surfaces
Once the bowl is cool enough to handle, remove it with oven mitts and wipe the microwave’s ceiling, walls, door, and turntable with a damp microfiber cloth. Steam loosens splatters, so you shouldn’t need harsh scrubbing.
Rinse the cloth frequently, wring it well, and clean greasy spots with a drop of dish soap. Wipe the door’s edges and handle, where fingerprints and food residue collect.
Use a cotton swab to reach the vents and tight corners, but don’t let moisture enter the openings. Dry every surface with a clean towel before replacing the turntable.
Check for lingering odors, and repeat the steaming process if necessary. Regular wiping prevents buildup, supports appliance maintenance, and keeps kitchen clutter from hiding spills or encouraging pests.
Never operate the microwave without its turntable properly seated.
Wash and Organize the Refrigerator
How often do you clean your refrigerator? Aim for a quick weekly check and a deeper wash each month. Start by removing every item, placing perishables in a cooler so they stay safe. Toss expired food, wipe sticky containers, and check dates as you go.
Wash removable shelves, drawers, and bins with warm, soapy water. Let glass shelves reach room temperature first to prevent cracking. Wipe the interior walls, ceiling, door seals, and handles with a clean, damp cloth and mild cleaner. Dry each surface thoroughly before returning food.
Use these simple habits for better Food safety and Shelf organization:
- Keep raw meat on the lowest shelf in a sealed tray.
- Group dairy, produce, condiments, and leftovers in separate areas.
- Label leftovers with dates and place older items in front.
Clean spills immediately, and leave space between containers so cold air can circulate. Finally, wipe the refrigerator’s exterior and sanitize the handle, then reload it neatly.
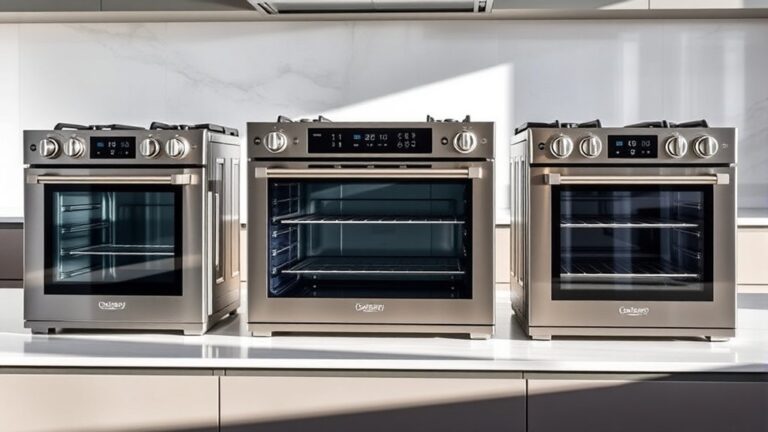
Scrub the Oven and Stovetop Safely
Before you clean, turn off the oven and stovetop, let them cool completely, and remove the oven racks and burner grates. Put on gloves, open a window, and check your appliance manual before applying any cleaner.
Good oven safety means never spray cleaner near heating elements, electrical controls, or gas openings.
Wipe loose crumbs from the oven, then apply a manufacturer-approved cleaner or a paste of baking soda and water. Keep it off the door gasket and heating elements.
Let the product work as directed, scrub with a nonabrasive sponge, and wipe every surface with a damp cloth. Clean the racks separately in warm, soapy water, then dry them thoroughly.
For stovetop scrubbing, lift removable caps and grates, soak them in soapy water, and wipe spills from the surface. Use a soft scraper for stuck-on food, avoiding steel wool and harsh powders.
Dry everything completely before replacing parts and restoring power or gas. Check that burners ignite evenly.
Degrease Range-Hood Vents and Filters
Turn off the range hood and let its surfaces cool, then remove the filters according to the manual. Place metal filters in a sink or basin filled with hot water and grease-cutting dish detergent.
Let them soak for 10–15 minutes, then scrub both sides with a nonabrasive brush. Rinse away loosened grease and inspect every opening.
For effective vent cleaning, wipe the hood’s interior and exterior with a damp, soapy cloth. Keep water away from the motor, switches, and electrical connections.
Use a soft brush or cotton swab to reach narrow seams without pushing debris deeper inside.
- Soak filters before scrubbing to loosen stubborn grease.
- Wipe the fan housing carefully, avoiding electrical parts.
- Check filters for damage before reinstalling them.
Replace disposable filters rather than washing them. If a reusable filter remains bent, rusty, clogged, or greasy after cleaning, plan filter replacement.
Consult the manual for compatible parts and installation steps. Don’t operate the hood without properly secured filters.
Dry, Deodorize, and Prevent Buildup
Once the filters and hood surfaces are clean, dry them completely with a towel and leave them exposed to air until no moisture remains. Proper drying protects metal parts, limits odors, and supports mold prevention.
Don’t reinstall damp filters, because trapped moisture can encourage mildew and leave a stale smell inside the hood.
Improve air circulation by opening a nearby window or running the exhaust fan for several minutes. If odors linger, place a small bowl of baking soda inside the empty hood cabinet overnight, keeping it away from electrical components.
You can also wipe the interior with a lightly dampened cloth and mild dish soap, then dry it thoroughly.
To prevent buildup, wipe the hood’s exterior after cooking, especially around buttons, seams, and vents. Clean filters on the schedule recommended by the manufacturer, and check them more often when you fry frequently.
Replace disposable filters when they’re saturated or damaged. Finish by storing removable parts in a clean, dry place until needed again.
Frequently Asked Questions
Can I Clean Kitchen Appliances While They’Re Still Plugged In?
No, you shouldn’t clean kitchen appliances while they’re still plugged in. Unplug each appliance first, then let hot surfaces cool completely.
For electrical safety, keep cords, plugs, outlets, and motor openings dry. Never immerse powered appliances or spray liquid directly onto them.
Follow the manufacturer’s instructions, and inspect for damage before reconnecting. Your cleaning frequency can vary, but regular wipe-downs prevent buildup.
If an appliance gets wet, leave it unplugged and seek service.
How Often Should I Deep-Clean Each Kitchen Appliance?
You should deep-clean most kitchen appliances monthly. Since you use your refrigerator roughly 20 times daily, grime can accumulate quickly.
Create cleaning schedules that match each appliance: wipe your microwave weekly and deep-clean it monthly; clean your refrigerator monthly; descale your coffee maker every one to three months; scrub your oven every three to six months; and wash your dishwasher filter monthly.
Consistent appliance maintenance prevents odors, buildup, and costly repairs.
Which Cleaning Products Can Damage Stainless Steel Appliances?
Avoid abrasive cleaners, steel wool, scouring pads, bleach, ammonia, chlorine, and oven cleaners on stainless steel appliances. They can scratch, dull, discolor, or corrode the finish.
Don’t use harsh powders or scrub in circles, either. You shouldn’t apply stainless steel polish unless it’s labeled safe for your appliance’s finish, and you must follow its directions.
Instead, use warm water, mild dish soap, and a soft microfiber cloth, wiping with the grain.
When Should I Replace Worn Appliance Seals or Electrical Cords?
Replace worn appliance seals when they crack, loosen, harden, discolor, or no longer create a tight closure. Seal replacement helps prevent leaks, energy waste, and unsafe operation.
Perform a cord inspection whenever you clean an appliance. Replace the cord if you see fraying, exposed wires, melted insulation, scorch marks, or a loose plug.
Unplug the appliance first, avoid temporary repairs, and contact a qualified technician when replacement involves internal wiring or specialized parts.
Are Professional Appliance-Cleaning Services Worth the Cost?
Professional appliance-cleaning services can be worth the cost when you lack time, face stubborn buildup, or own complex equipment. For a Cost comparison, compare quotes with your estimated supplies, time, and potential repair expenses.
Service benefits include specialized tools, safer deep cleaning, and professional inspection that may extend appliance life. You won’t need frequent service for routine maintenance, but consider it annually or before selling your home.
Conclusion
With the right routine, cleaning kitchen appliances doesn’t have to feel like climbing a mountain. You’ll prepare your supplies, wash small appliances, steam the microwave, organize the refrigerator, and safely scrub the oven, stovetop, hood, and filters.
Once everything’s dry, deodorized, and free of buildup, your kitchen will shine like a fresh start. Keep up these simple habits, and you’ll prevent grime from taking root, so every meal begins in a cleaner, healthier space.
Cleaning kitchen appliances regularly helps keep your kitchen fresh, hygienic, and ready for every meal.