How to Identify Key Parts of an Oven
If you’re struggling to identify the right oven parts when comparing models or planning a repair, you’re not alone. Many people find oven components confusing, so this guide to how to identify key parts of an oven will help you shop smarter and inspect each feature with confidence.
Identify an oven by starting at the control panel, where you’ll find the display, clock, mode selectors, temperature controls, and timer.
Inside, locate the lower bake element, upper broil element, racks, side supports, temperature sensor, interior light, and convection fan.
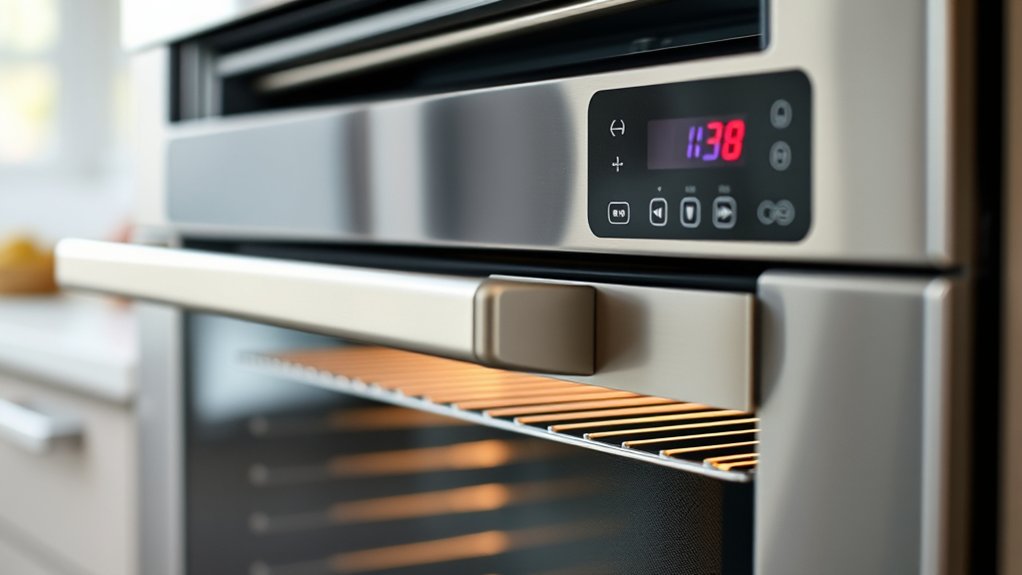
Check the door’s glass, hinges, handle, frame, and gasket for damage or gaps.
Keep vents clear, and disconnect power before inspecting components.
You’ll soon see how each part supports safe, even cooking.
Key Takeaways
- Identify the oven door, handle, hinges, glass, and gasket; check for cracks, gaps, damage, or poor sealing.
- Locate interior components, including racks, side supports, heating elements, temperature sensor, light, and ventilation openings.
- Recognize bake and broil elements by their positions: bake at the bottom and broil near the ceiling.
- Find the control panel, display, mode selectors, temperature controls, timer, and clock used to operate the oven.
- Identify the convection fan and rear vents, keeping them clear and checking for grease buildup or unusual noises.
Map the Oven’s Main Parts
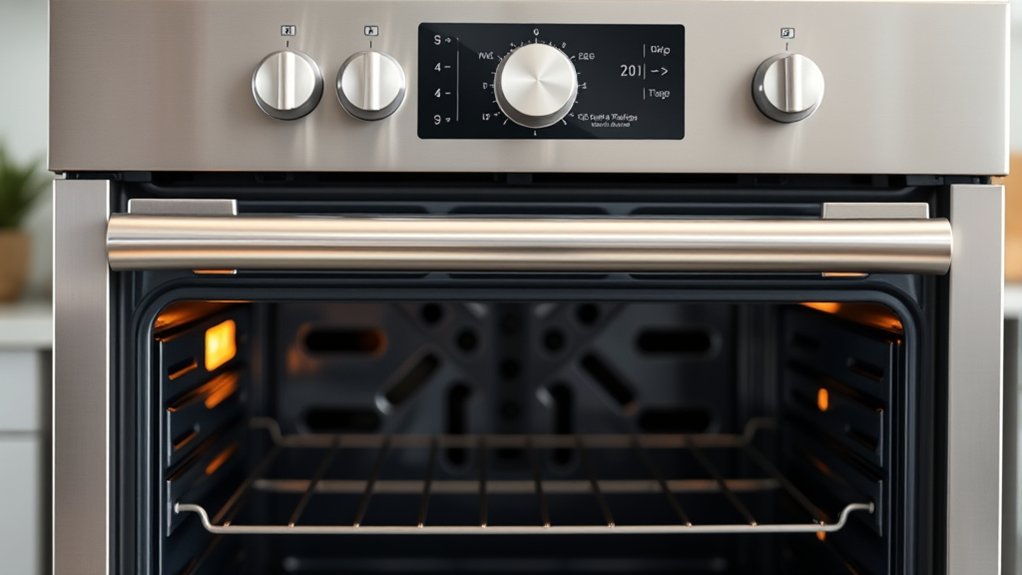
Start by mapping the oven’s main parts so you know where each component is and what it does. Begin with the oven door, which seals the cooking space and includes a handle, hinges, glass, and a gasket.
> Map your oven’s key components, from the door and gasket to the handle, hinges, and glass, before using or maintaining it.
Check the door’s edges for a snug fit, since a damaged seal can release heat.
Next, examine the oven interior. Identify the side supports or rack guides, then note the removable racks and their positions.
These levels let you place cookware closer to or farther from the heat source. Look along the floor and ceiling to locate the heating elements, if your model uses visible ones.
You may also find a convection fan on the rear wall; it circulates hot air during convection cooking.
Locate the light, temperature sensor, and ventilation openings inside or around the cavity. Don’t remove covers or touch components while the oven’s hot or connected to power.
Keep your map handy for maintenance and safe use.
Identify Oven Control Panel Parts
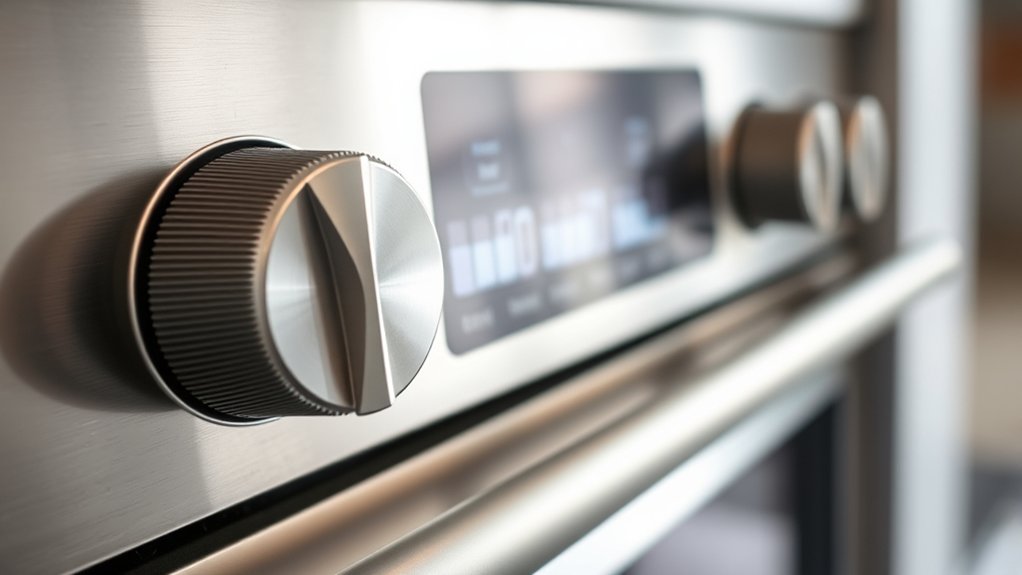
With the oven’s physical components mapped, turn to the control panel, where you select cooking modes, set temperatures, adjust timers, and monitor operation. Identify the display first; it shows the clock, selected settings, countdowns, and error codes.
Next, locate the mode selector or buttons for bake, broil, convection, proofing, and other available functions. Find the temperature controls, usually marked with arrows, a dial, or a numeric keypad.
The timer and clock controls may share buttons, so check their labels carefully. Look for start, cancel, pause, and lock controls, which manage operation and prevent accidental changes.
Some panels include a light button, self-clean setting, or smart-connect indicator. Before pressing unfamiliar controls, read the owner’s manual and follow safety precautions.
Keep the panel dry, and use a soft cloth during oven cleaning. Avoid spraying cleaner directly onto buttons, displays, or seams.
Note illuminated indicators that confirm active settings, preheating, or a completed cycle.
Find the Heating Elements
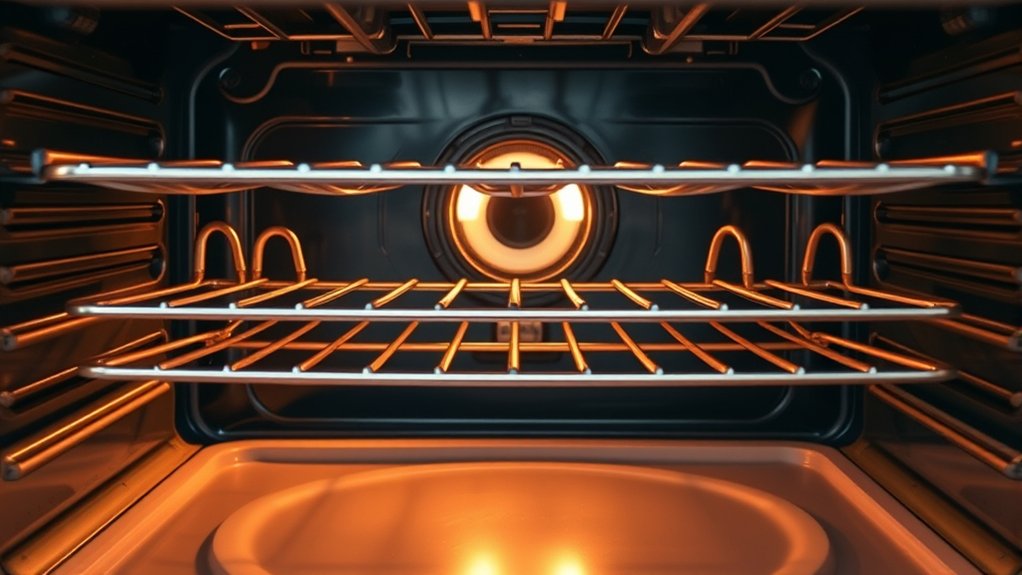
Find the heating elements by looking for the visible coils or panels inside the oven cavity. You’ll usually see a bake element along the bottom and a broil element near the ceiling.
Some models use concealed elements, so check the oven’s manual or look for small vents that reveal their locations.
Inspect each element for blistering, cracks, sagging, burn marks, or uneven discoloration. A damaged coil may heat poorly or not glow at all.
For heating element troubleshooting, turn off power at the breaker before examining anything closely. Don’t touch an element until it’s completely cool.
During a wire connection inspection, look for loose terminals, melted insulation, corrosion, or disconnected wires at the element’s mounting points.
Avoid pulling on wires or removing covers unless you’re qualified to do so. If the element looks intact but the oven won’t heat, a technician can test continuity and related components safely.
Record the element’s shape and mounting style before ordering a replacement part.
Position the Oven Racks and Supports
Once you’ve checked the heating elements, position the oven racks and supports correctly. Proper oven rack placement helps food cook evenly and keeps pans safely away from hot surfaces. Turn off the oven and let it cool before touching any components. Wear heat-resistant gloves if racks remain warm.
Position oven racks correctly after checking the heating elements to promote even cooking and maintain safe clearance from hot surfaces.
- Slide each rack out, then inspect its rails, stops, and side supports for bending, looseness, or residue.
- Match the rack position to your recipe: use the center for balanced baking, the lower level for taller dishes, and the upper level for browning.
- Set the rack on matching supports and push it fully inward. Confirm that it moves smoothly and stops securely before adding cookware.
If a support sits unevenly, remove the rack and make a careful support adjustment. Never force a rack past damaged rails, and replace warped parts promptly.
Correct positioning protects your cookware, prevents spills, and improves airflow around every dish during cooking. Always keep clearance for rising batter and expanding food.
Locate the Temperature Sensor
Locate the temperature sensor on the oven’s interior back wall, usually near the upper section. Look for a slender metal probe extending horizontally into the oven cavity. You’ll typically find it above or beside the upper rack position, secured with one or two small screws. Don’t confuse this probe with a rack support, broiler component, or a vent opening.
Before inspecting it, switch off the oven and let it cool completely. You can identify the sensor by following its small wire through the rear wall toward the control area.
Avoid bending, pulling, or touching the probe unnecessarily, because damage can affect temperature calibration and cooking results. Check that the sensor sits firmly in its bracket and doesn’t contact the oven wall, racks, or cookware.
Proper sensor placement allows the control system to read cavity heat accurately. If the probe looks loose, damaged, or coated with heavy residue, consult your appliance manual before attempting service or replacement.
Identify the Oven Door and Glass
Next, examine the oven door, including its hinges, handle, seals, and frame. Check the glass for cracks, chips, or cloudy spots that could affect safety or visibility. A close inspection of these parts will help you better understand the door’s condition.
Oven Door Structure
The oven door is the hinged panel that opens into the oven cavity, while its glass window lets you view food without releasing as much heat. To identify the oven door assembly, follow its outer frame from the handle to the hinges.
Most models include multiple layers that improve insulation and protect the viewing area.
- Handle: You use it to pull the door open or push it closed.
- Frame: It supports the window, gasket, and inner panel.
- Hinges: These connect the door to the range and control movement.
You’ll also find an inner glass panel, outer glass, and insulating space between them. If a pane breaks, check your model number before ordering glass replacement.
Recognizing each component helps you describe the correct part when ordering service or components.
Inspecting Door Glass
Inspect the oven door glass for cracks, chips, cloudiness, or loose edges before using the appliance. Open and close the door gently, checking whether the panes shift, rattle, or sit unevenly. These signs may indicate damaged seals, hinges, or mounting clips.
Look around the inner and outer panes for baked-on residue, then clean them with a soft cloth and approved glass cleaner. Don’t use abrasive pads, sharp tools, or harsh chemicals that could weaken the surface.
The glass helps retain heat, while oven door insulation around the panes protects nearby cabinets and reduces energy loss.
If you notice damage, stop using the oven until you arrange service. Follow your manufacturer’s glass replacement tips, including matching the model number and installing every seal and clip correctly.
Never substitute ordinary household glass; it can shatter under high heat.
Check the Door Seal and Hinges
Check the door seal for cracks, gaps, or loose sections that could let heat escape. Also inspect the hinges for damage, rust, or stiffness that might prevent the door from closing properly. Address any issues you find to keep your oven safe and efficient.
Inspect the Door Seal
A properly sealed oven door keeps heat inside, so examine the gasket around the frame for cracks, flattening, or gaps. Your oven door gasket should sit evenly in its channel without pulling away, fraying, or showing burned sections.
Run your fingers gently along the seal while the oven is cool, and look for hardened areas that no longer compress.
Check these signs of poor seal integrity:
- A visible gap appears between the gasket and frame when the door closes.
- Heat escapes around the edges during operation, causing uneven cooking.
- The gasket feels brittle, loose, or permanently flattened.
Wipe away grease and crumbs with a damp cloth, but don’t use abrasive cleaners that could damage the material.
Replace a damaged gasket with the manufacturer-approved part, following your oven’s instructions carefully.
Examine Hinge Condition
Look closely at the door hinges for bending, rust, or loose mounting points that could prevent the door from closing evenly. Open and close the door slowly, watching for sagging, scraping, or uneven gaps.
Excessive hinge wear can keep the seal from contacting the oven frame, allowing heat to escape. Don’t force a stiff hinge; inspect it for debris or damage first.
Your owner’s manual may recommend hinge lubrication, but use only the specified, heat-resistant product and keep it away from the gasket. Tighten accessible screws carefully, and replace bent hinges rather than straightening them.
| Observation | Recommended action |
|---|---|
| Rust or looseness | Clean or tighten |
| Sagging or damage | Replace hinge |
After adjustment, close the door and check for a continuous seal. If gaps remain, arrange professional service.
Understand Convection Fans and Vents
Convection fans circulate hot air throughout the oven, while vents release excess heat and moisture to maintain even cooking temperatures. You can identify the fan at the rear wall, usually behind a protective cover.
Convection fans circulate hot air, while oven vents release excess heat and moisture for consistent cooking.
Look for blocked openings, loose blades, or heavy grease buildup without touching the appliance while it’s hot. Understanding convection fan operation helps you recognize whether airflow can move freely during cooking.
Check the vent’s location along the front, back, or cooktop area, depending on your oven model. Keep towels, foil, and cookware away from these openings, since obstructions can trap heat.
For safe inspection:
- Turn off power and let the oven cool completely before examining the fan or vent.
- Wipe accessible surfaces with a damp cloth and follow your manual’s guidance for vent cleaning.
- Listen for grinding, rattling, or unusual silence when the fan should run; arrange service if you notice damage.
Don’t remove covers or force fan blades. Consult the manufacturer’s instructions for part locations and safe access.
See What Each Oven Part Does
Once you’ve identified the fan and vents, learn how each oven part supports cooking, safety, and temperature control. The heating elements create heat: the bake element warms food from below, while the broil element delivers intense heat from above.
Your thermostat senses cavity temperature and signals the controls to maintain your selected setting. The control panel lets you choose modes, adjust temperature, and set cooking time.
The oven door keeps heat contained, and its glass window lets you monitor food without releasing much warmth. Door hinges and the gasket help create a tight seal.
Racks support cookware at different heights, so you can position dishes for baking, roasting, or broiling. The light illuminates the interior without opening the door.
During oven cleaning, remove racks if the manufacturer directs you to do so. Follow safety precautions: turn the oven off before inspecting parts, let surfaces cool, and avoid touching heating elements.
Understanding these functions helps you use each component correctly.
Diagnose Common Oven Part Problems
When an oven heats unevenly, won’t reach the set temperature, or stops responding, inspect its parts systematically. Start by checking the display, clock, and circuit breaker; a tripped breaker can mimic a failed component.
Then examine these common trouble spots:
- Heating elements: Look for blisters, cracks, or dark patches. A damaged bake or broil element usually needs replacement.
- Temperature sensor: Confirm that the sensor sits securely and doesn’t touch the oven wall. Compare its resistance with your manufacturer’s specifications.
- Door seal and controls: A torn gasket lets heat escape, while faulty knobs, touchpads, or relays can prevent accurate operation.
Before testing or removing anything, disconnect power and follow appropriate safety precautions. Let the oven cool completely, and wear gloves when handling sharp panels.
Regular oven cleaning helps you spot damage, but don’t spray cleaner near electrical parts. If wiring looks burned or diagnostics remain unclear, stop troubleshooting and contact a qualified technician.
Record the symptoms and error codes to speed up repairs and avoid replacing the wrong part.
Frequently Asked Questions
How Often Should an Oven Receive Professional Maintenance?
You should schedule professional oven maintenance once a year to keep it safe, efficient, and reliable. A technician can test the oven temperature, inspect electrical connections, clean critical components, and verify baking modes.
Arrange service sooner if you notice uneven heating, unusual noises, gas odors, damaged seals, or repeated error codes. If you use your oven heavily, consider maintenance every six months, especially before busy holiday cooking or demanding baking seasons.
What Safety Precautions Should You Take Before Cleaning an Oven?
Before cleaning, you’ll want oven safety first: unplug the oven or switch off its circuit breaker, then let it cool completely. As a knight might sheathe a sword before entering battle, you should remove racks, cookware, and loose debris carefully.
Wear gloves, open windows, and keep cleaners away from children and pets. Check your manual, avoid heating elements and gas connections, and never mix cleaning products. These cleaning precautions help prevent burns, shocks, fires, and fumes.
Can You Replace Oven Parts Yourself, or Should You Hire a Technician?
You can handle some oven replacements yourself, but choose a professional service when safety or complexity is involved. DIY repair may suit simple tasks, such as replacing a rack, knob, light bulb, or accessible heating element after you’ve disconnected power.
Don’t attempt gas-line work, electrical diagnosis, control-board replacement, or sealed-system repairs. If you’re unsure, smell gas, see damaged wiring, or lack the manual, hire a qualified technician to prevent injury or further damage.
How Do You Choose Compatible Replacement Parts for Your Oven Model?
Choose replacement parts by matching your oven’s exact brand, model number, and serial number. You’ll usually find this information on a label inside the door, along the frame, or behind the control panel.
Check the manufacturer’s parts catalog, then compare the part number, specifications, dimensions, and connection type. Don’t rely on appearance alone.
For reliable oven compatibility, verify the listing with the manufacturer or a qualified technician before purchasing.
What Tools Are Needed for Basic Oven Repairs?
For basic oven repairs, you’ll need common tools: a Phillips and flat-head screwdriver, nut drivers, adjustable wrench, pliers, wire strippers, a multimeter, flashlight, and work gloves. About 30% of appliance repair calls involve loose or faulty electrical connections, so test power carefully before starting DIY fixes.
You’ll also want replacement fuses, wire connectors, and heat-resistant tape. Unplug the oven, consult its manual, and don’t attempt gas repairs yourself.
Conclusion
Once you’ve mapped your oven’s controls, elements, racks, sensor, seal, hinges, fan, and vents, you’ll know what each part does and where to look when something goes wrong.
Use this knowledge to spot loose racks, worn seals, blocked vents, or uneven heating before small issues become costly repairs. When in doubt, unplug the oven and call a qualified technician.
With these basics under your belt, identifying key parts of an oven and troubleshooting problems will feel like a piece of cake.